just keep baking, baking, baking.

Okay. So I got slack, I admit it.

Having rage quit reading Kakavas for the nth time in the row (I swear this happens every time – I tell myself that mooting sounds fun and then want to kill myself for the next three weeks because the stress of only sleeping 3 hours a day is getting to me. Yo ho, yo ho, a student’s life for me.) I thought to myself… well, isn’t now a great time for procrastibaking?

Now, to explain I haven’t been doing much procrastibaking or any baking recently (rewatching game of thrones in anticipation for season 4 didn’t leave much time for much else) but what haven’t been doing, more importantly, is writing down my recipes. So what does that mean? Well, it means that I’m left with a folder full of cake photos and no recipes to go with (curse this goldfish memory of mine).

In any case, here is a summary of my most recent baking adventures (or failures… whatever).

#1. Summer Birthday cake.

Image


All wrapped up already. Hah! I wish. It was just a lacklustre attempt to keep the tempered chocolate sides from collapsing on us (you can see the cracks already. What you see here is the first birthday cake lovechild of my baking god friend and I. A simple chocolate sponge cake with nutella buttercream and summer berries. Temper some dark chocolate to bring the whole look together.

NB: We put the cake in the fridge and the nutella buttercream managed to somehow take on the consistency of ice cream – surprisingly good.

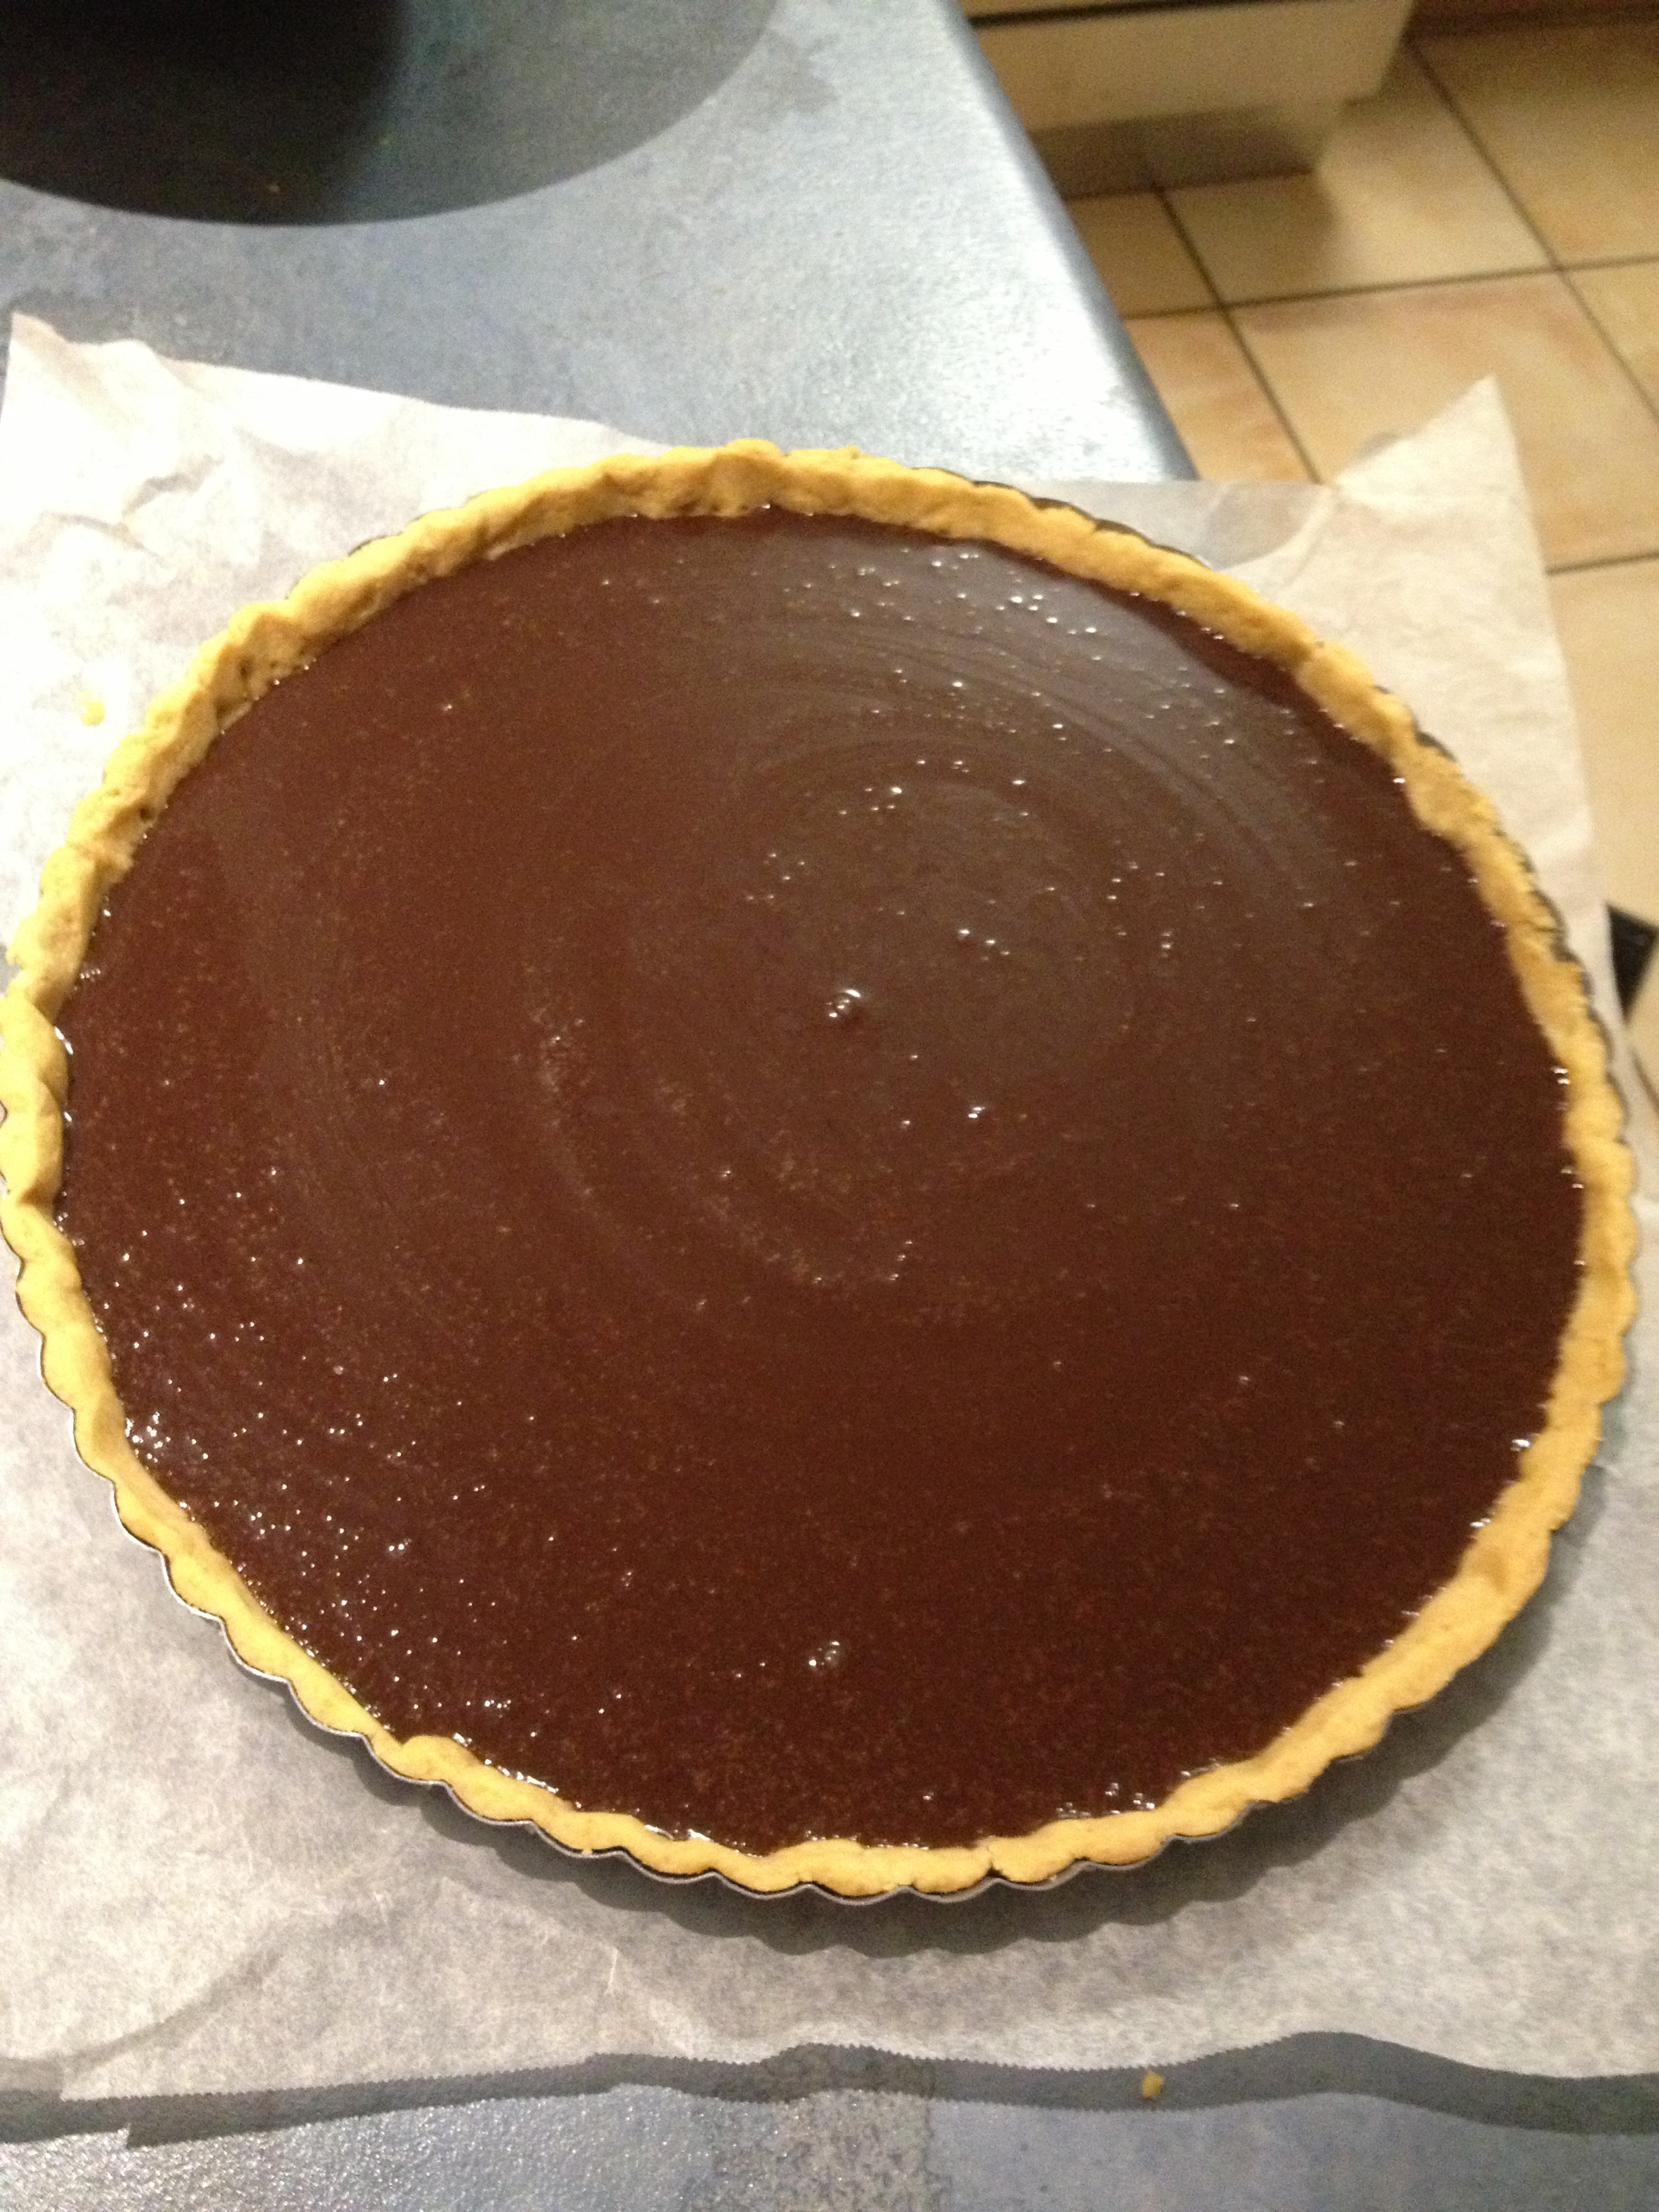
#2. Death by chocolate.

Image


Okay. So not the most beautiful cake ever (indeed, more things went wrong than you could possibly imagine) and probably the most abysmal photography skills since…. i don’t know. Introducing this 8-layered dark chocolate and hazelnut monstrosity. It features two layers of flourless chocolate cake (surprisingly moist), two types of mousse – nutella and baileys (two layers apiece), two layers of crushed hazelnut praline and a dark chocolate mirror glaze to smooth it all over on top. This cake packs so many calories you probably won’t need to eat for the next two days. Perfect.

#3. The fancy tart.

Image

So one afternoon we had two hours in the afternoon before church and thought – hey, we haven’t done a tart in a while. So here is our almond-berry tart with chantilly cream filling and pistachio praline. I say almond because hidden deep under the layer of chantilly is an almost invisible layer of baked almond custard goodness.

#4. Sophisticated cravings??

Image

Mmmmm scones.

#5. Chewy choc chip anzac biscuitsImage

I call them anzac biscuits but all I did was throw some oats and dessicated coconut into the cookie dough – oh my fatty goodness.


And there follows some necessary failures but I’m sure we’ll get them figured out sooner or later.

#imout.

Dark chocolate tart. (Keeping that chocolate obssession going strong)

Image

Continuing with the excessive baking (and terrible iphone quality photography).

Alright, so recently i’ve made every thursday bake day with my awesome baking buddy and we’ve been little busy bees baking away pounds and pounds of butter.

One of this week’s missions was a dark chocolate tart (pictured above)

Okay, so i figure i should get around to the actual recipe round about now.

INGREDIENTS

Crust:

* 1/2 Cup plain flour

* 1/2 Cup digestive biscuit crumbs (these would be similar to your graham crackers)

* 1 egg

* 2 tbsp cold water

*1/8 cup sugar

Filling:

* 225 g dark chocolate

* 1 1/4 cups heavy cream

* 2 eggs

* vanilla extract to taste (i put about 2.5 tsp)

Chocolate glaze:

*50 g dark chocolate

*100 ml thickened cream (same as for filling)

Toppings:

* Strawberries (optional)

METHOD:

Alright so first things first, i really hated the crust i made.  It ended up okay but it was a real pain to make.  At any rate, you can make it as follows:

1. Crust:  It would probably be faster with a food processor, but since i only had a blender i did it using the ol’ elbow grease.  In a bowl, combine the bowl (sifted), biscuit crumbs, sugar and egg until it forms a dough.  It might be a little dry so add a little bit of water until it becomes a kneadable dough.  Put the dough in the fridge for 20 mins to set it a little.

2. Preheat the oven to 180 degrees and grease a tart tin.

3. Take the dough out of the fridge and roll it out until it’s about 13 inches in diameter (No need for complicated math here, basically just roll out the dough until it’s reasonably thin and can be pressed into the tart tin)  Alright, go ahead and press that dough into the tart tin and grab a fork and start poking holes into it.  It should look  awesomely holey.

Image

Now, it’s time for blind baking.  Basically, you just put a layer of baking paper over the tart shell and fill the shell with weighted objects.  I think there are actual things that they sell at the baking store or something that serve this purpose but i just filled ‘er up with some rice and she was good to go. Blind bake that baby for 10 mins.  This is so that the tart will keep shape 🙂  Take it out and remove the rice.  Let it cool.

4. Meanwhile, if you’re a super awesome multi-tasker (or you have an amazing baking buddy like me) you can make the filling simultaneously.

Pour that cream into a saucepan and bring it to a boil.  Then, pour it over the dark chocolate (this should be COOKING CHOCOLATE and not normal dark chocolate.  Boy did i learn that the hard way).  Just let it soak before whisking them together (i just used a spoon). 

Add in the eggs and vanilla extract and whisk it all together. Then, all you have to do is pour that deliciousness into the tart shell (and try not to eat it all) and bake for 20 mins (this time may vary depending on how strong your oven is.  My friend had an industrial grade oven and it was done in a jiffy).

Image

5.  Once the tart is pretty cool (i couldn’t wait to try it so i only waited about 30 mins) you can add the glaze.  Basically, all you need is to mimick the first part of making the filling.

Boil the cream and then pour it over the chocolate.  Wait a little while it soaks together a little and the chocolate begins to melt then whisk until it’s a smooth ganache.

Pour the glaze on top of the tart and then put it in the fridge to set for about 2 hours.

Image

(Ahh probably the most rewarding part of this bake:  being able to see your hand reflected in your tart)

6. Remove the tart from the tin and serve.  If you wish, use the strawberries to decorate.  By the way, that was in no way my own work.  It’s sad but I must admit that my baking is more to do with taste than appearance and i have absolutely no patience with decorating and all that. However, the same can’t be said of my awesome baking buddy who spent the good part of 90 mins arranging the strawberries on the tart.

Image

Enjoy and happy baking.